Image Effect Photoshop: Mastering Double Exposure Without Common Pitfalls
The double exposure technique has evolved from a complex darkroom accident into one of the most sought-after aesthetics in modern digital design. When creators search for an Image Effect Photoshop action or template, they are usually looking for that specific, dreamlike blend where two distinct realities merge into a single, cohesive visual narrative. This style is incredibly effective for music posters, editorial headers, and branding campaigns because it communicates complexity and emotion instantly. However, the gap between a professional-grade double exposure and a muddy, amateurish mess often comes down to technical execution rather than artistic vision.
Many designers, particularly those new to compositing, assume that purchasing a high-quality PSD file guarantees a perfect result. While premium assets significantly reduce workflow time, they do not automatically correct fundamental misunderstandings about resolution, color space, or layer management. To truly leverage these tools, you must understand both the creative potential and the technical constraints of the files you are using. Avoiding common errors ensures that your final output remains crisp, vibrant, and commercially viable.
Evaluating Technical Specifications Before You Buy
One of the most frequent mistakes occurs before the file is even opened. Creators often overlook the technical specifications listed in the product description, assuming all Photoshop effects are created equal. For professional print work or high-resolution digital displays, size matters immensely. A robust double exposure template should offer dimensions of at least 3600 x 2400px at 300 DPI. Using a file with lower resolution may look acceptable on a laptop screen but will appear pixelated or soft when printed or viewed on retina displays.
Equally important is understanding the color mode. Most versatile image effect templates operate in RGB color mode. This is ideal for web, social media, and digital advertising. However, if your primary goal is offset printing, you must be aware that RGB colors can shift when converted to CMYK. A practical approach is to test your color palette early. If you know the project is strictly for print, verify that the vibrant neons or deep shadows in the preview image can be reproduced in your target color space. Ignoring this distinction leads to disappointment when the final printed piece looks dull compared to the glowing screen preview.
[Image Placeholder: Side-by-side comparison demonstrating RGB vibrancy versus CMYK print simulation]
The Trap of Low-Contrast Source Photography
Even with a perfectly organized PSD file containing clearly labeled layers, the effect will fail if your source photography is poor. Double exposure relies heavily on luminance values to determine where the secondary texture appears. A common misunderstanding is believing the effect works equally well with any portrait. In reality, flat lighting or low-contrast images result in undefined blends where the subject disappears into the background texture.
To avoid this, always select source photos with strong directional lighting and defined shadows. The "silhouette" areas of your portrait act as the canvas for the second exposure. If your subject is evenly lit against a white background, the blending modes (typically Screen, Lighten, or Overlay) have no tonal information to latch onto. Before applying the effect, take thirty seconds to adjust the Levels or Curves on your base photo. Increasing contrast creates the necessary separation that makes the double exposure effect pop. This small corrective step saves hours of frustrating mask painting later.
Navigating Layer Organization and Smart Objects
Efficiency in Photoshop is dictated by how well a file is structured. When evaluating an Image Effect Photoshop resource, prioritize files that advertise "clearly organized and labeled layers." Disorganized layer stacks are a hidden cost; they force you to reverse-engineer someone else’s logic, wasting billable hours. A quality template uses Smart Objects for placeholder images. This non-destructive workflow allows you to swap artwork without permanently altering the underlying effect layers.
A critical error beginners make is rasterizing Smart Objects too early to "fix" a blending issue. Once rasterized, you lose the ability to reposition or resize the internal content without quality loss. Always keep your workflow non-destructive. If the blend isn't working, adjust the opacity masks or blending options inside the Smart Object filter stack rather than flattening the image. Furthermore, ensure you are using Adobe Photoshop CC or higher. Older versions may not support newer Smart Filter features or specific blending algorithms used in modern double exposure actions, leading to broken links or missing effects.
[Image Placeholder: View of a clean, color-coded layer panel demonstrating organized group structure]
Understanding Licensing and Asset Limitations
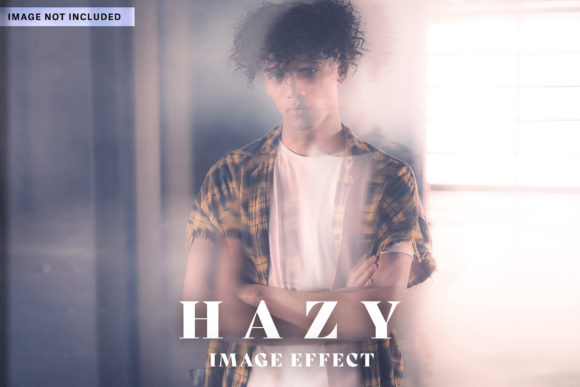
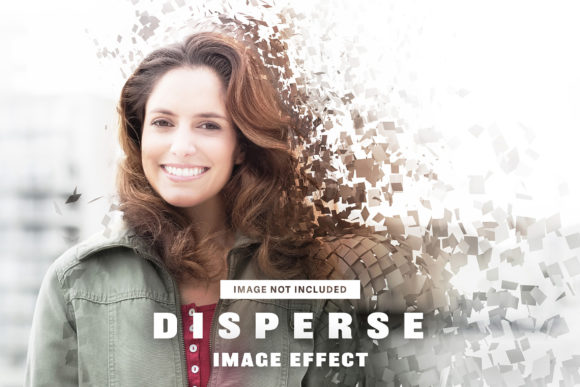
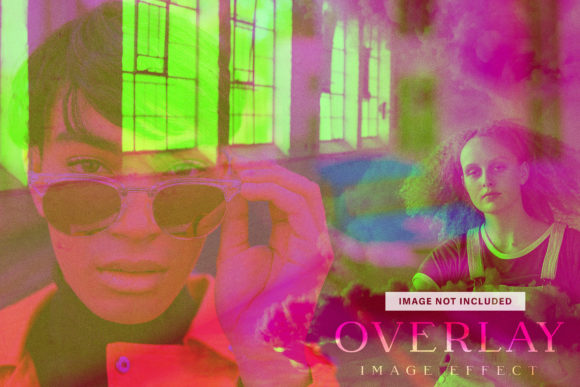
It is vital to read the fine print regarding what is actually included in your download. Product descriptions typically state that placeholder images are not included in the final files. This is standard practice due to licensing restrictions, yet many users are surprised when they open the PSD and find generic stock watermarks or solid colors instead of the stunning landscapes shown in the marketing preview.
This limitation requires you to have your own library of textures and portraits ready. Do not purchase an effect expecting it to provide the artistic content; it only provides the technical mechanism. Plan ahead by curating a folder of high-resolution textures—forests, cityscapes, smoke, or geometric patterns—that match the mood of your project. Having these assets prepared before you begin editing prevents creative stagnation. Additionally, verify the license type. Some effects allow for unlimited commercial use, while others restrict usage to personal projects or limit the number of end products. Clarifying this upfront protects you from legal complications down the road.
Refining the Final Output for Professional Results
The difference between a preset application and a custom design lies in the refinement phase. Relying solely on the default settings of an image effect often yields generic results. After replacing the placeholders with your text or artwork, spend time tweaking the adjustment layers. Every photograph interacts differently with texture overlays. You may need to invert a mask, soften an edge, or shift the hue saturation to unify the two exposures.
Consider the hierarchy of information. In double exposure art, the texture can sometimes obscure facial features or critical text. Use layer masks to selectively reveal the subject's eyes or mouth, ensuring the human element remains the focal point. This selective masking restores readability and emotional connection. Also, pay attention to the edges of your composition. Harsh cutoffs where the texture meets the canvas border can look unfinished. Adding a subtle gradient fade or vignette helps integrate the effect naturally into the layout.
[Image Placeholder: Before and after comparison highlighting selective masking and edge refinement]
Ultimately, an Image Effect Photoshop tool is a foundation, not a finish line. By respecting technical specs like 300 DPI resolution, preparing high-contrast source imagery, maintaining non-destructive workflows, and refining masks manually, you transform a generic template into bespoke art. These practical corrections bridge the gap between simply applying a filter and crafting a compelling visual story that resonates with your audience and stands up to professional scrutiny.